Tired of aligning blocks, text, and images? And endlessly inspecting opened and closed tags makes the process even worse? No worries, now you can finally take a break. With Magento and its prebuilt Page Builder extension, these mundane tasks will become a thing of the past.
Since Magento 2.4.0, you can organize your text and images with ease. CMS blocks and CMS pages will look stylish and visually appealing – like they were built by PRO. You will be able to create content-rich pages with custom layouts and improve the visual footprint of your website. With this approach, customers will be enticed to convert.
The Page Builder advanced content tools were introduced in the Adobe Commerce 2.3.1 release. Starting with the 2.4.3 release, the basic Page Builder functionality also became available in Magento Open Source.
Some of its key features include:
- drag and drop availability,
- live previews,
- ability to review the content on the front end of your store,
- Creative Visual Effects,
- Static and Dynamic Blocks,
- and all that with absolutely no coding skills required.
Magento Page Builder allows fine-tuning the layout and arrangement of content elements on the web page. With this content editor’s intuitive interface, you can enjoy easy drag-and-drop positioning of all content elements, as well as the ability to edit text inline.
Moreover, the Builder lets you schedule, preview, or publish content changes at any time, giving you the opportunity to put your content management and content publishing on autopilot.
Page Builder in Action
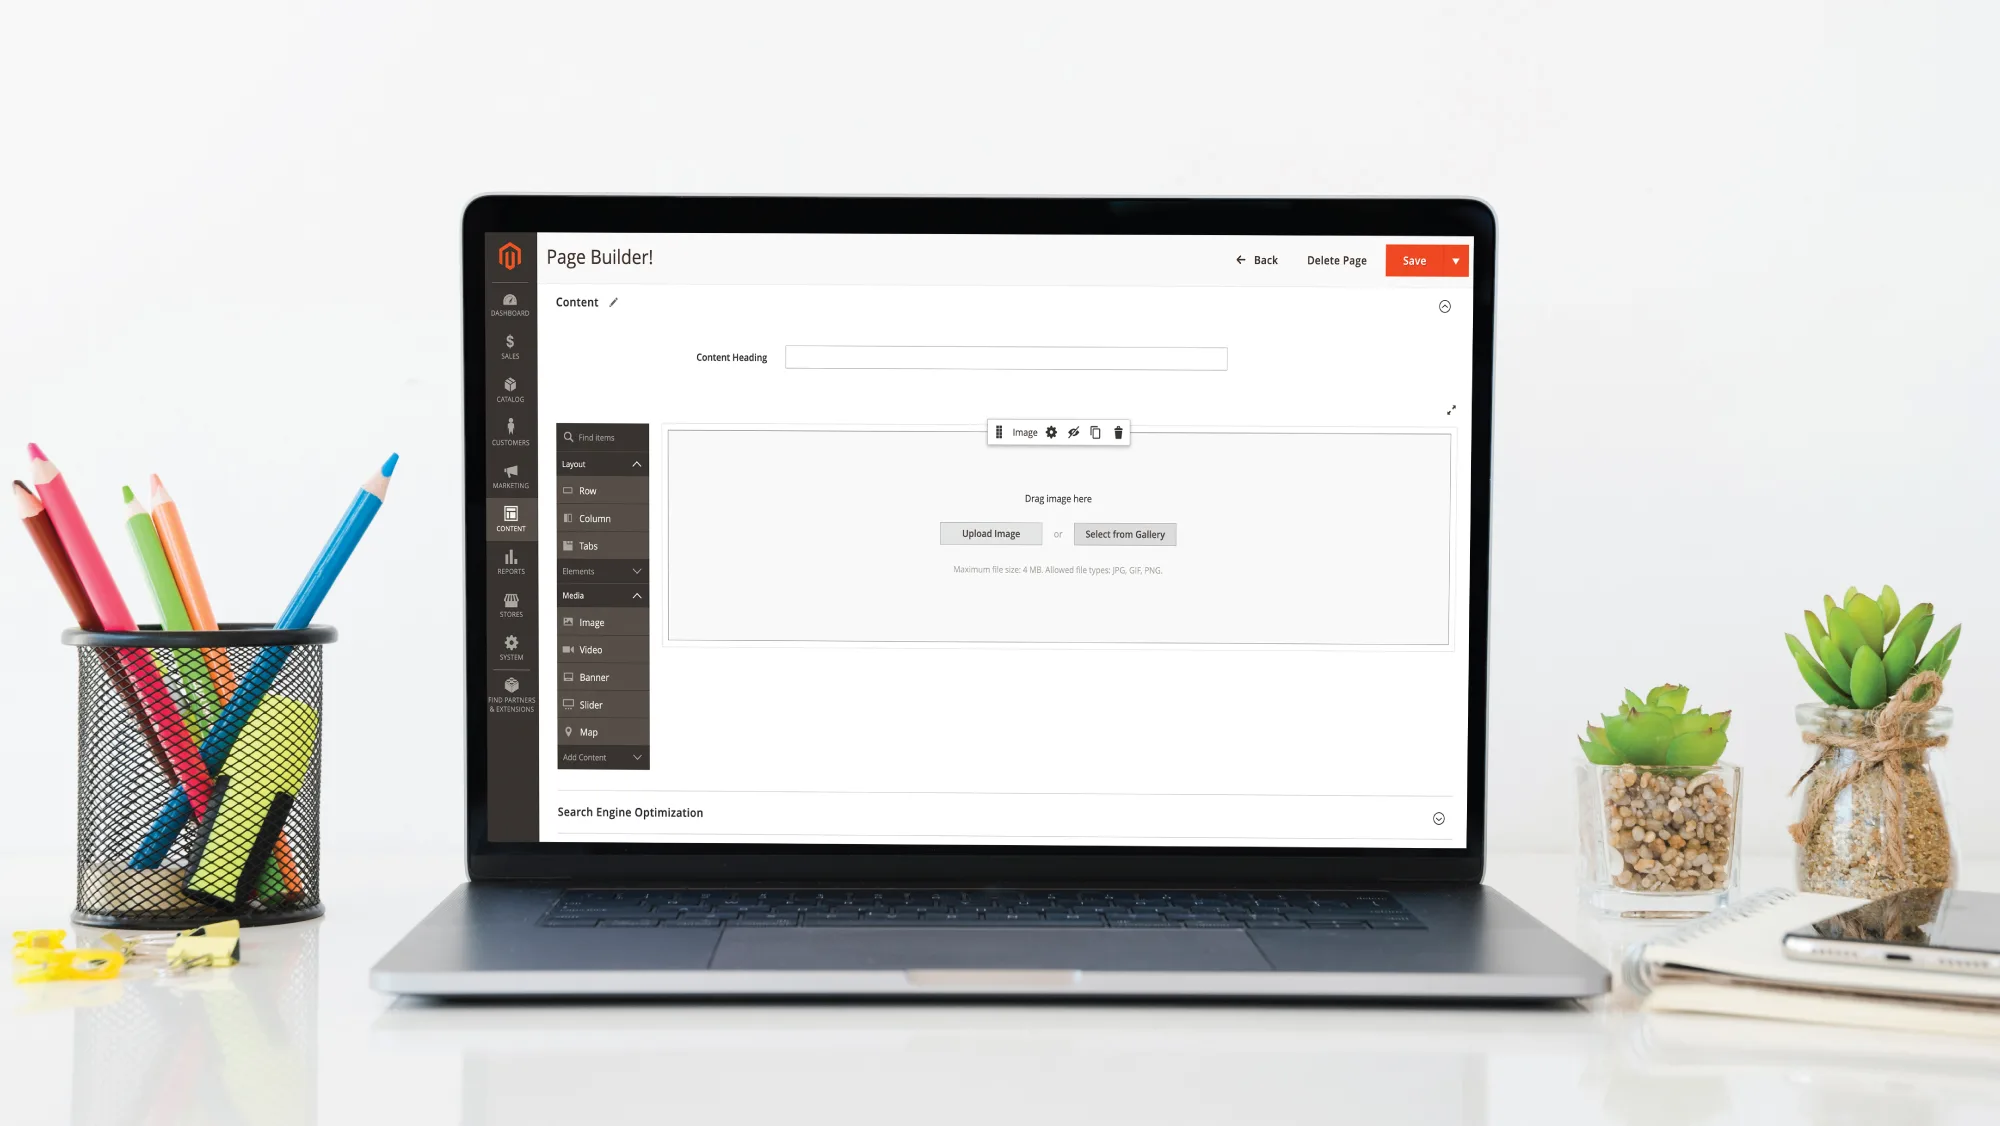
Now, we’ll see what is under the Page Builder’s hood. Let’s log in to Magento Admin Panel, and then,
Admin Panel → Content → Pages → Find the “Action” column → Choose “Edit” from the drop-down.
After that, scroll down to find and expand the “Content” section.
There you can find a general configuration of elements such as: Move, Edit, Hide, Duplicate, and Remove, which all provide great element maintainability. In the Layout section, you can find types like “Elements”, “Media” or “Add Content”
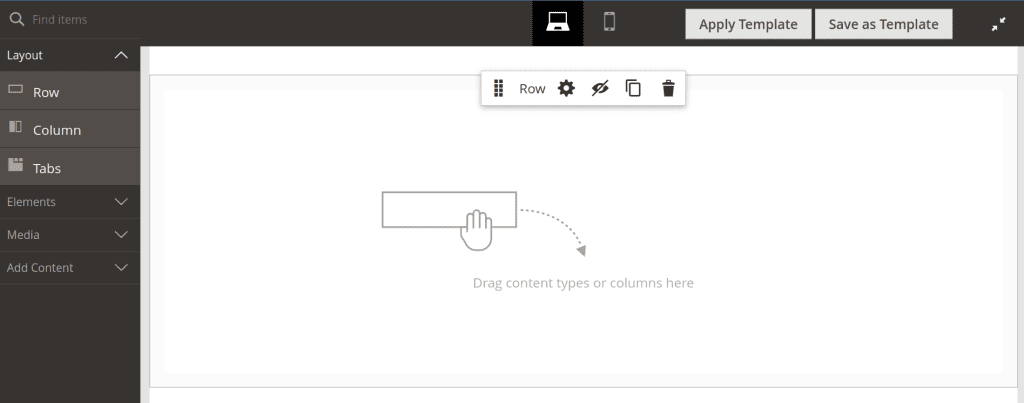
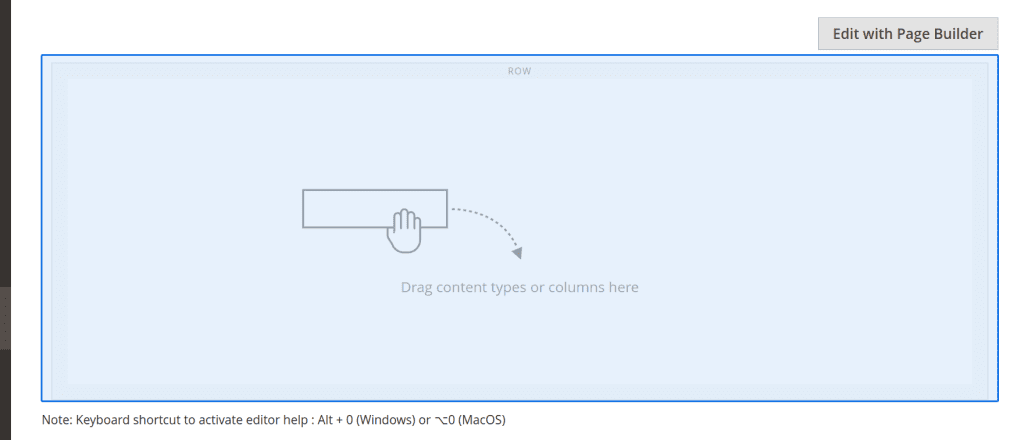
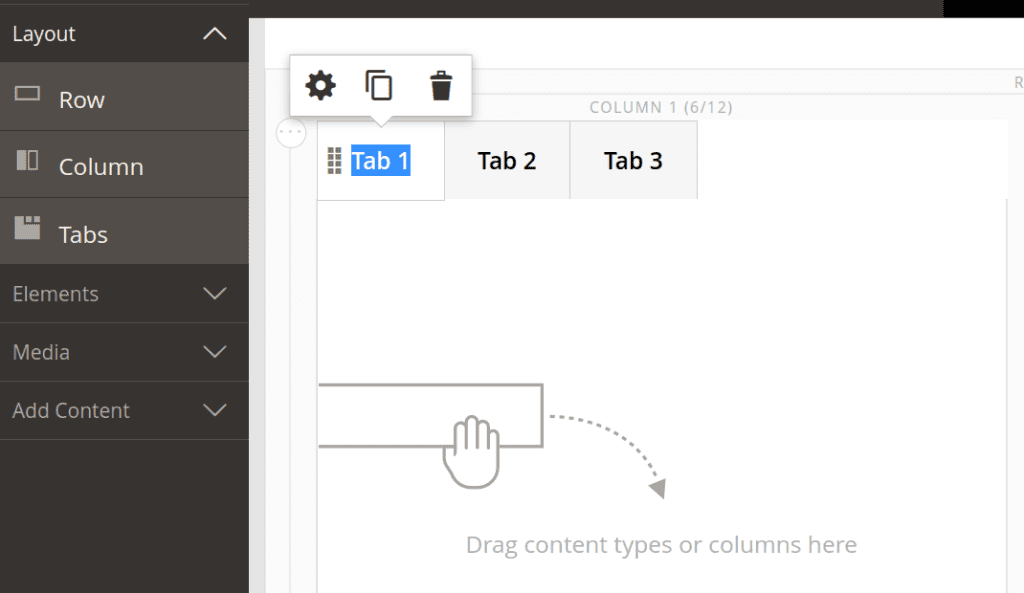
And since keeping it neat and well-organized are the foundation of properly displaying web content, you should follow a workflow that will keep your data in Rows, Columns, and maybe Tabs.
Row
This element expands the menu with a variety of extra configurations according to the selected element. Includes customizations for Appearance, Background, Parallax Background, and Advanced options, such as margins, borders, and custom CSS classes.
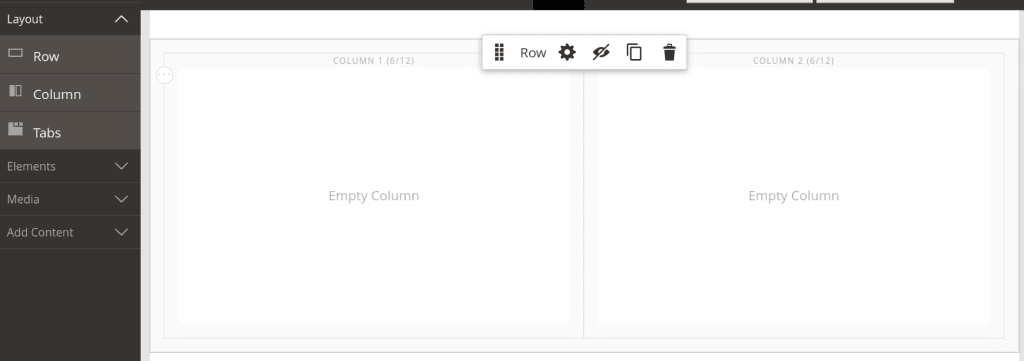
Column
Grid size: determines the maximum number of columns available per one side. Adjustable by middle lane drag-and-drop functionality.
Tabs
Allows keeping content in separate tabs. Add: adds a tab to the element.
Available elements are:
- Text: original field of input with standard options of text customization, widget insertion, etc.
- Heading: a field for page Heading and alignment adjustments.
- Buttons: adds a customizable button with a variety of options: Text, Link, Padding, CSS Styling, etc.
- Divider: creates a line for content types separation on the front end.
- HTML Code: gives an option to add custom HTML, declare a CSS class that you can apply to an element on the page, or add a code snippet code for a logo, button, or banner that you received from a third-party provider.
How to Master Page Builder
Whether you are new to all this or an experienced user, completing the following Page Builder exercises will significantly step up your game. These exercises will demonstrate how to use the basic Page Builder features and help you discover new ways to accomplish familiar tasks.
To learn more about content creation using the Page Builder, go through the walkthrough suggested below and let me know how it goes. I am always up for a quick chat on any Magento-related topic, so feel free to ping me on LinkedIn any time.
- Walkthrough Part 1: Simple Page
- Walkthrough Part 2: Blocks
- Walkthrough Part 3: Catalog Content


Comments are closed.